Linux環境でSeleniumを実行する手順を残しときます。
今まではWindowsのPychrm経由でしたが、、Linuxサーバで実行環境を用意しておけばリモート実行もできるし、幅が広がる、、、はず!
目次
インストール
ISOファイルのダウンロード
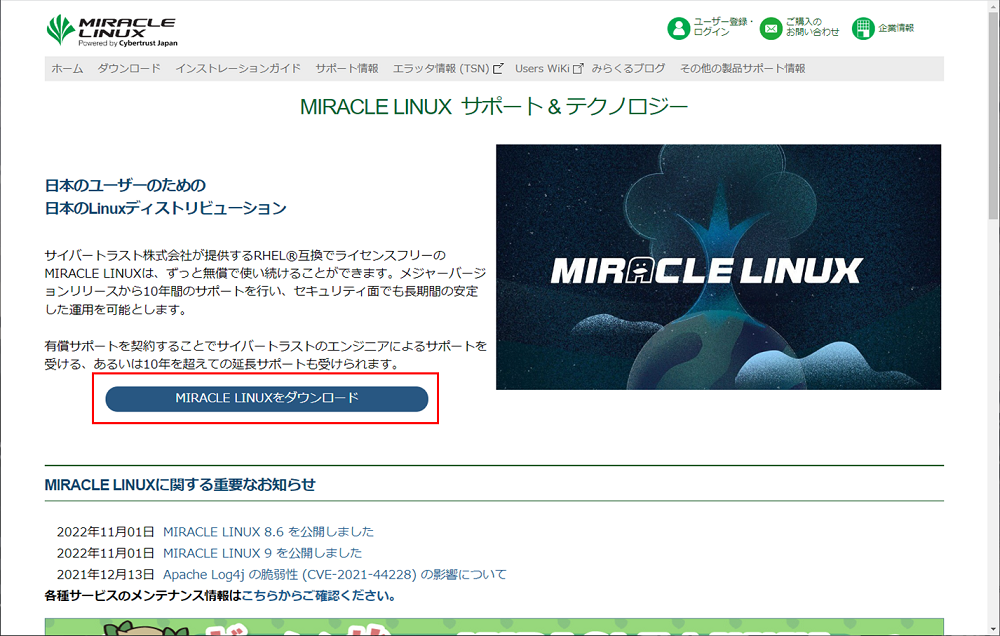
公式サイトから「MIRACLE LINUXをダウンロード」ボタンをクリックします。
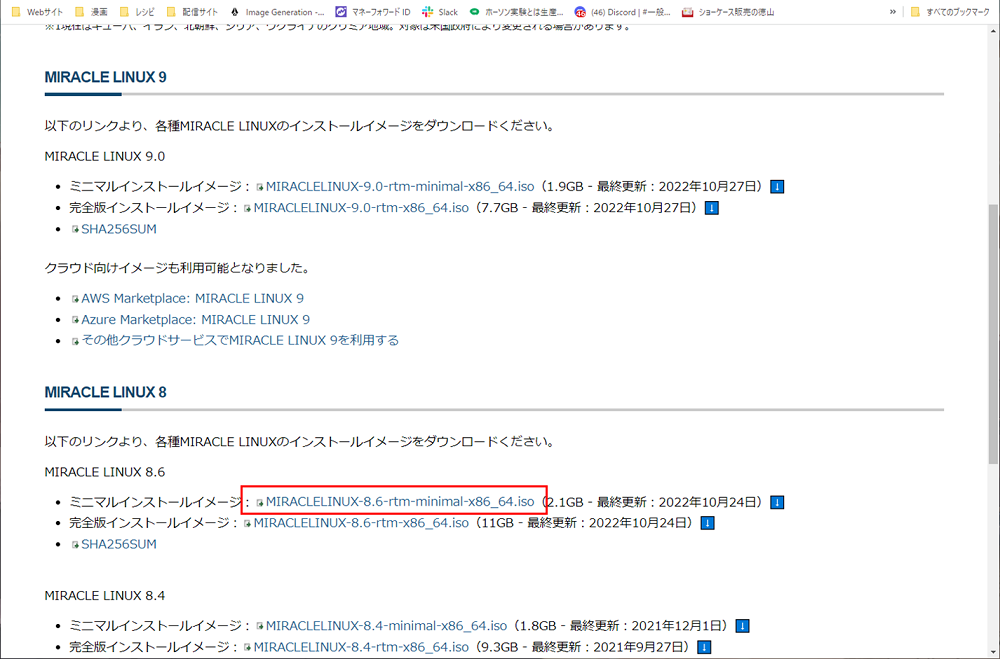
8のミニマルインストールイメージのリンクをクリックしてDLします。
VirtualBoxの仮想マシン作成・設定
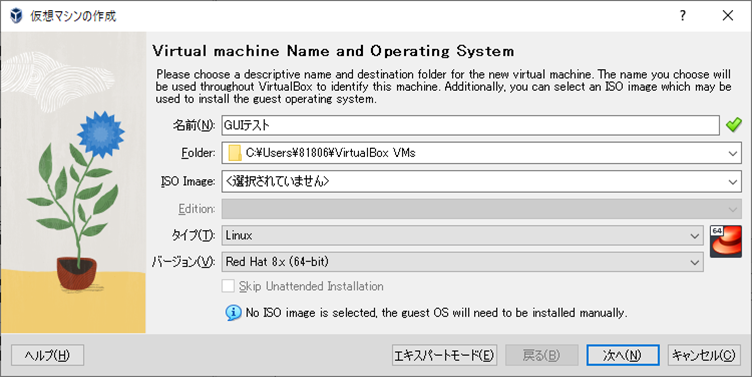
適当に仮想マシンを作成します、名前は適当に。
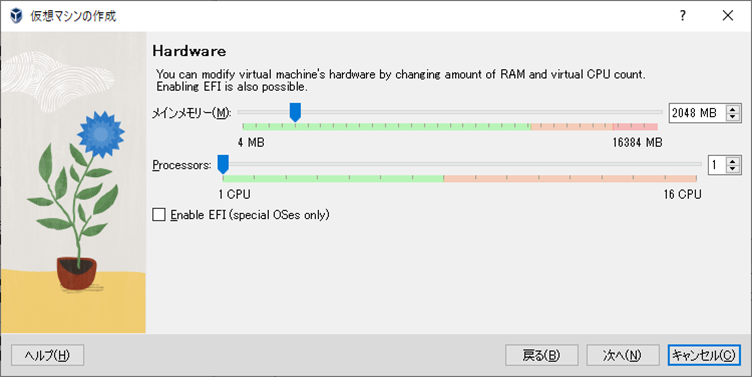
メモリ―等は変更なし
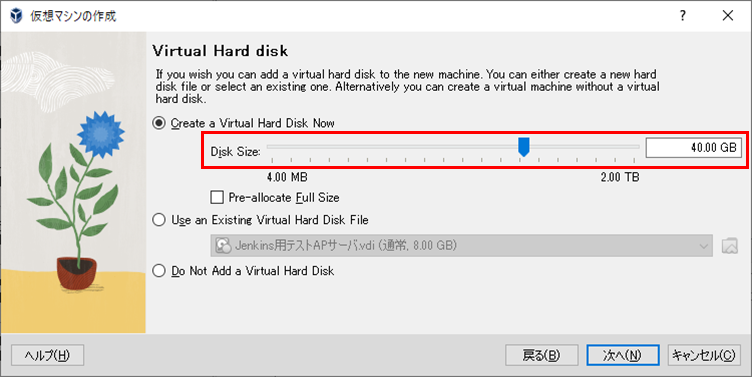
ストレージはデフォルトより少し多めに設定しておきました。
※GUI関連のパッケージをインストールするので余裕を持たせたい

こんな感じでとりあえず新規作成を終えます。

次に作成した仮想マシンの設定を変更します。
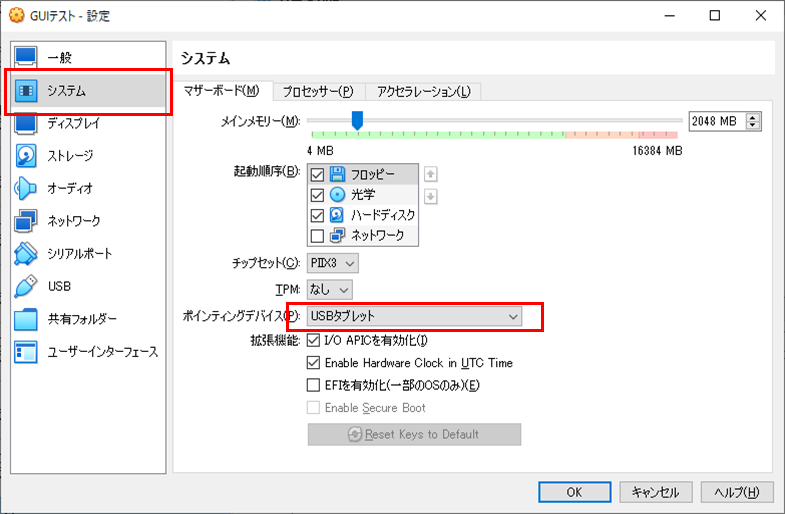
インストーラーでマウスカーソルを使えるようにしたいので、
「システム」の「ポインティングデバイス」を”PS2/マウス”から"USBタブレット"に変更します。

ディスプレイ関連の割り当てが弱いと正常に表示されないので、
「ディスプレイ」の「ビデオメモリー」を”32MB”に、「グラフィックスコントローラー」を"VBoxSVGA"にします。
※ミラクルリナックス8で1920x1080の解像度なら32MBあれば動作することは確認済み、他のOSは不明。。
これで設定は完了!インストーラーの実行に移ります。
インストーラーの実行
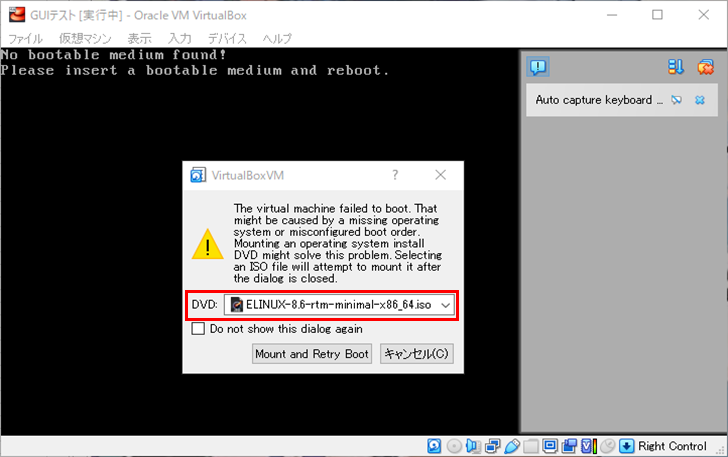
仮想マシンを起動します。
アラートが出るのでDLしたISOファイルを指定します。
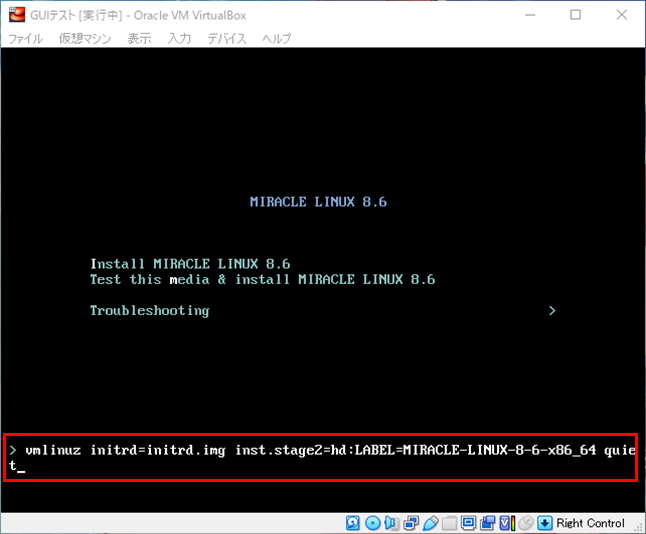
インストーラーを開始する前に、TABキーを入力します。
するとこんな表示が出てくるので、、
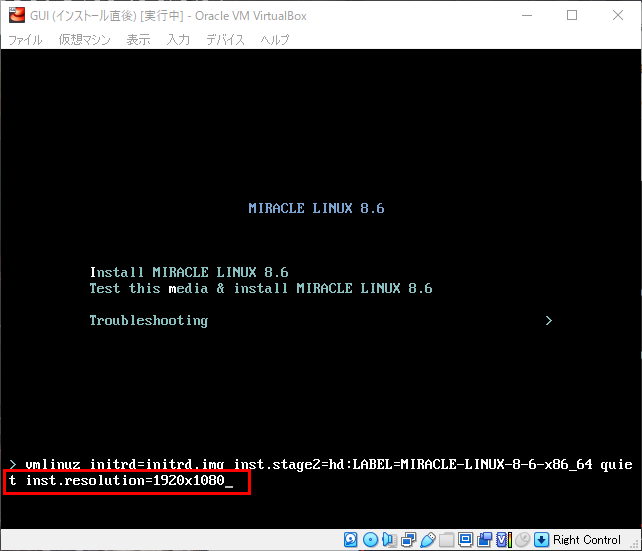
インストーラーとインストール後のGUIで画面を見切らせないため、
スペースで間隔を開けて"inst.resolution=1920x1080"を入力し、Enterキーでインストーラーを開始します。
※=の入力が特殊で、=の右にある^キーをShiftナシで打つ必要があります。

日本語を選択します。
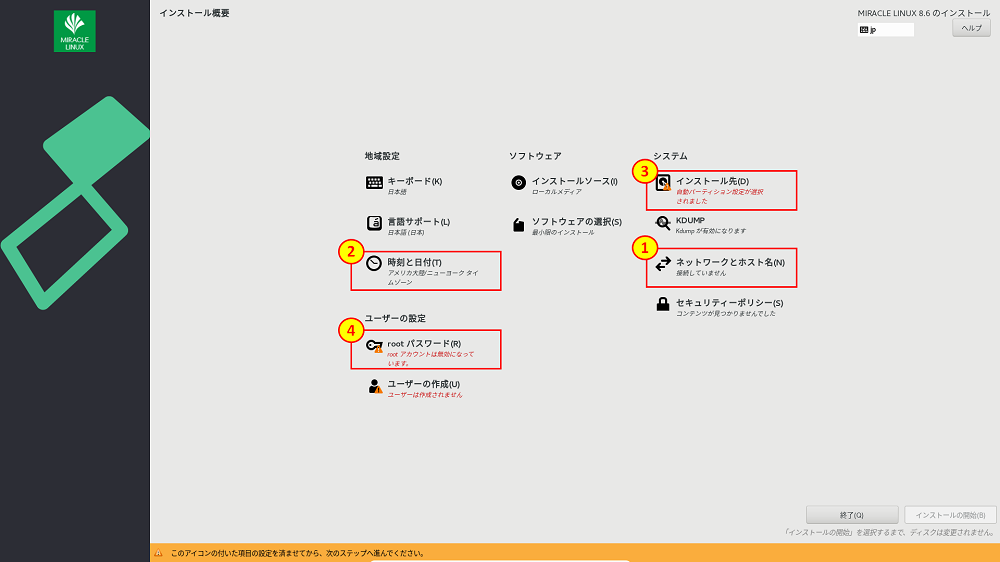
インストール項目は「ネットワークとホスト名」をまず指定します。
それ以外の順番は適当でOK。
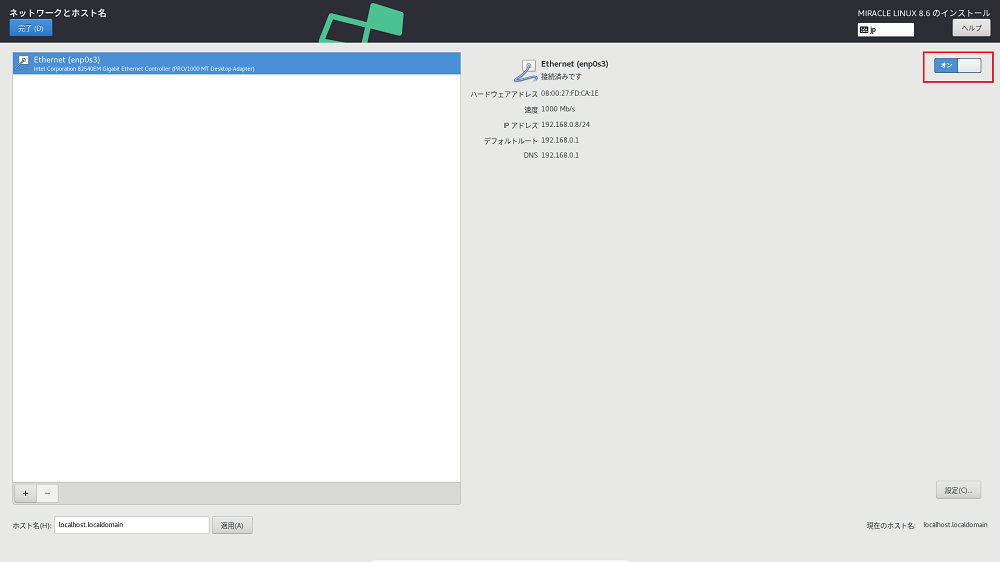
「ネットワークとホスト名」はオンにして完了します。
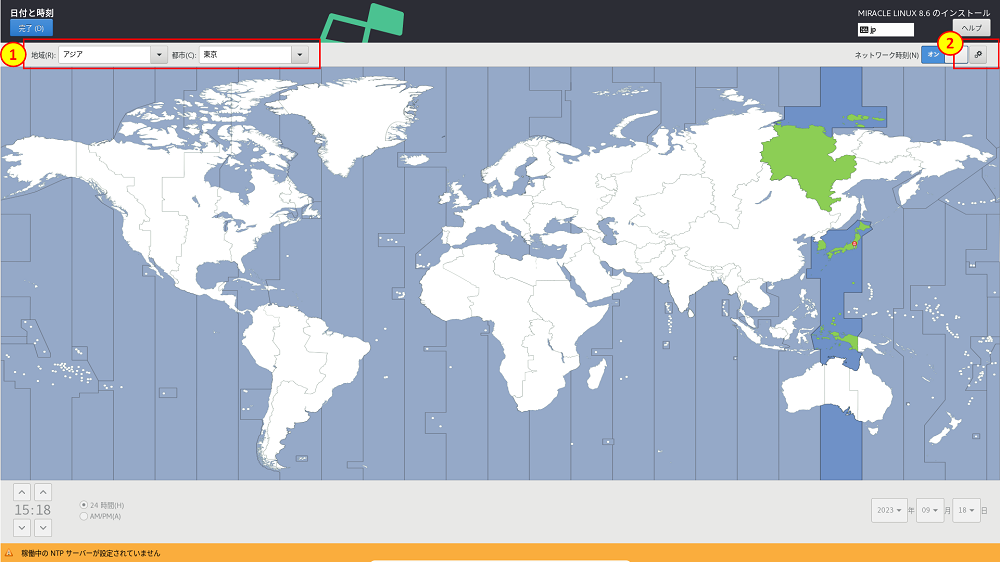
「時刻と日付」は"アジア"、”東京”を選択します。
一応NTPサーバーを設定しようと思うので、その次に右上の設定ボタンをクリックします。

チェックして完了します。
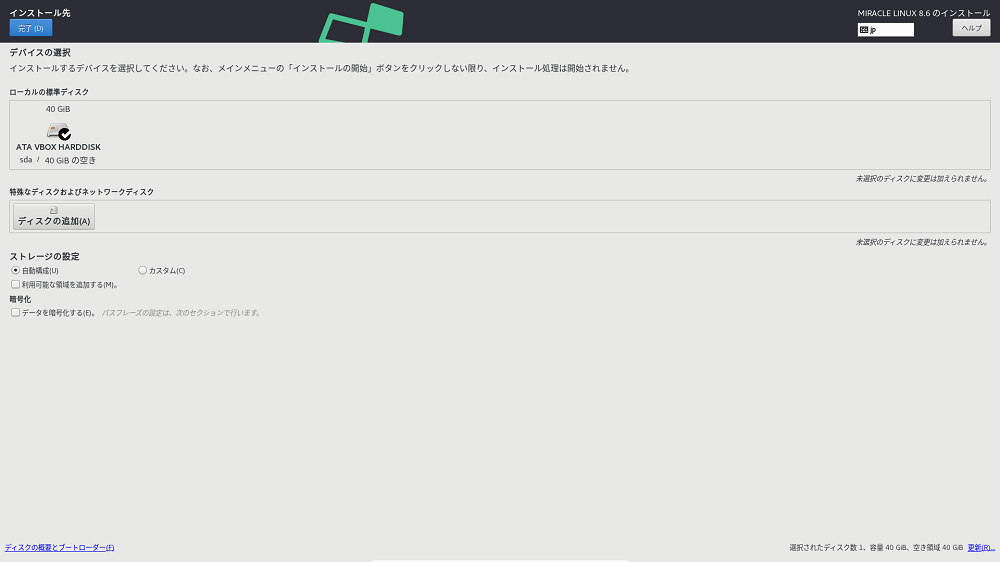
「インストール先」は何も変更せずに完了します。

「rootパスワード」は適当に入力します。

インストールを開始します。
GUI化
yum update
yum groupinstall "サーバー (GUI 使用)"
yum update後、GUI周りのインストールをgroupinstallで行います。
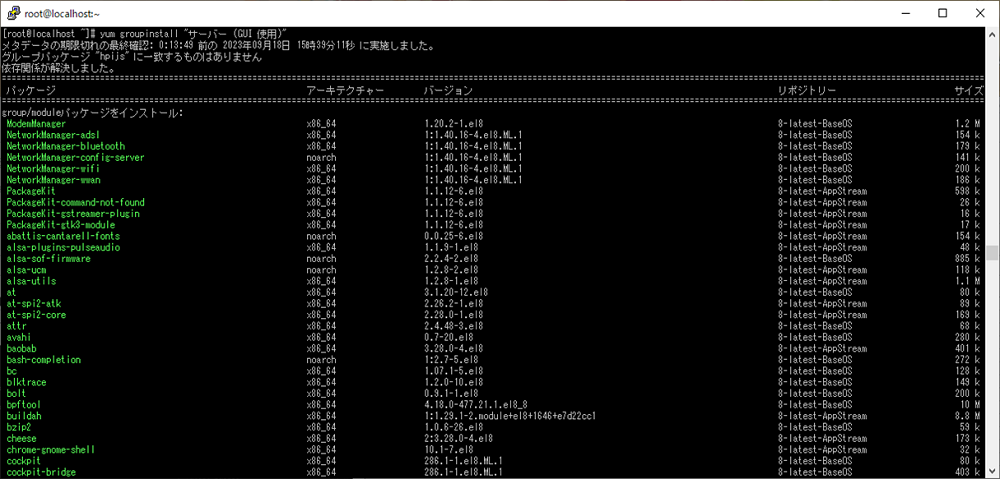
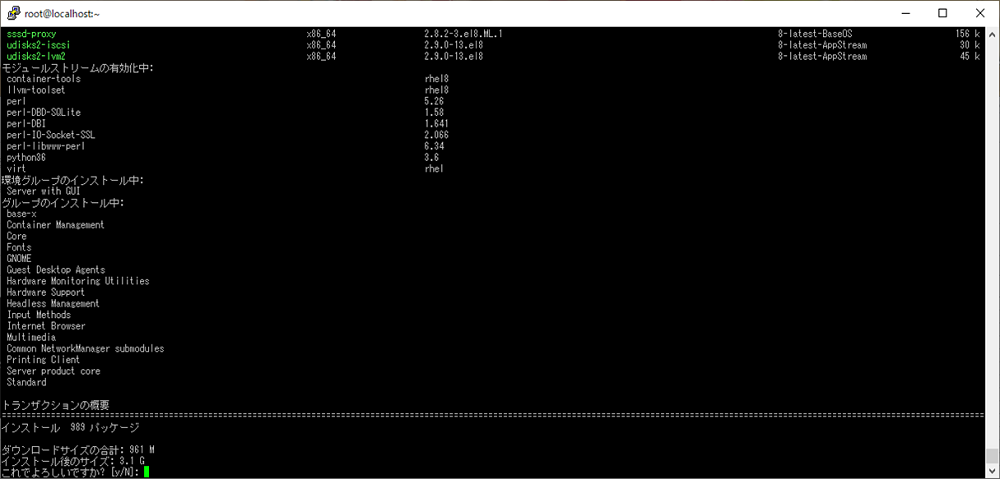
※パッケージ数の暴力。。。
#次回から起動時にGUIを使う
systemctl set-default multi-user.target
systemctl set-default graphical.target

#再起動
reboot
次回からGUIで起動するように設定し、再起動します。
GUI初期設定+Selenium実行
初ログイン後の初期設定
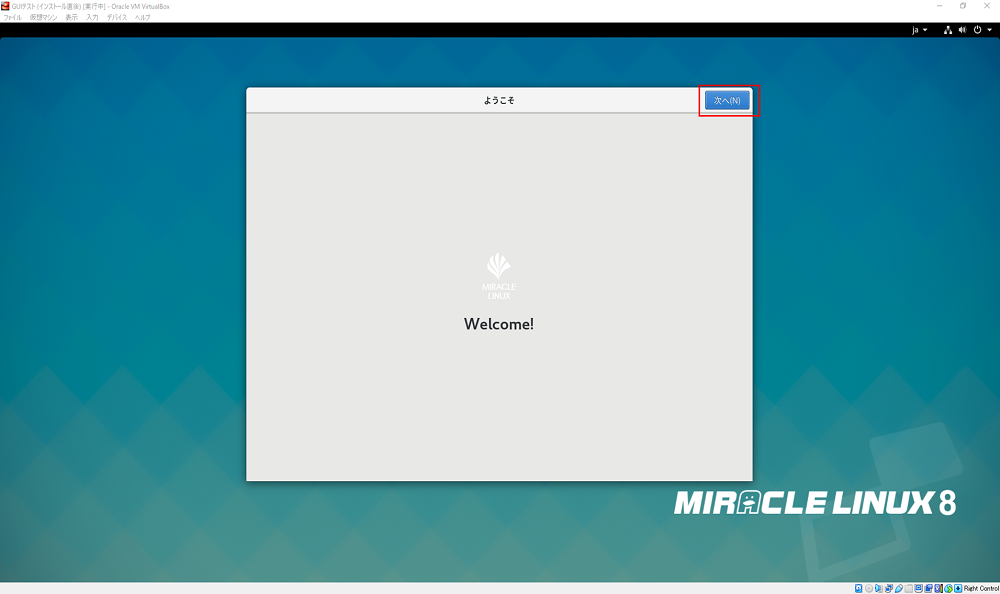
初期設定というほどではないですが、初ログインだとようこそ画面が出てくるので順々に進めています。

そのまま次へ。
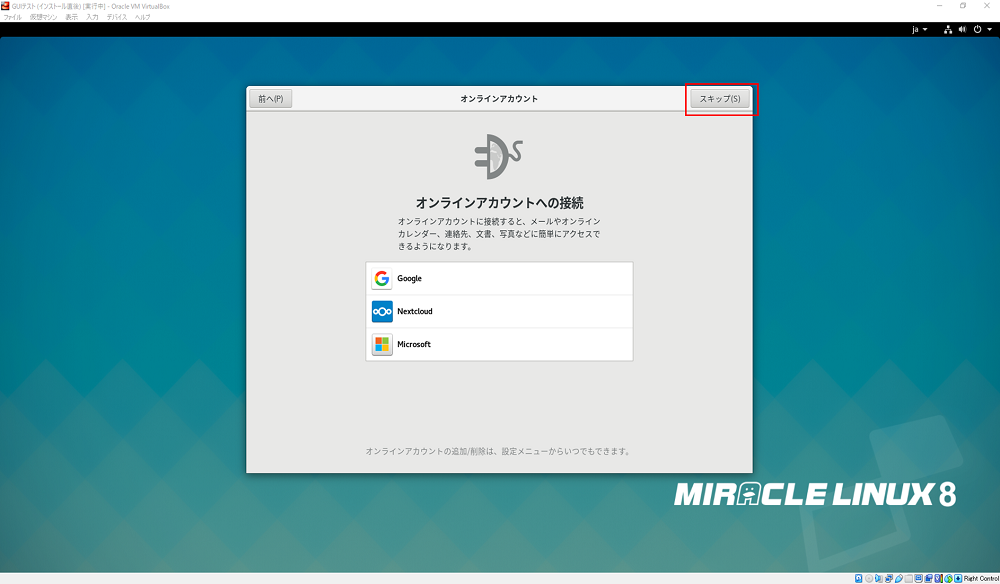
スキップします。
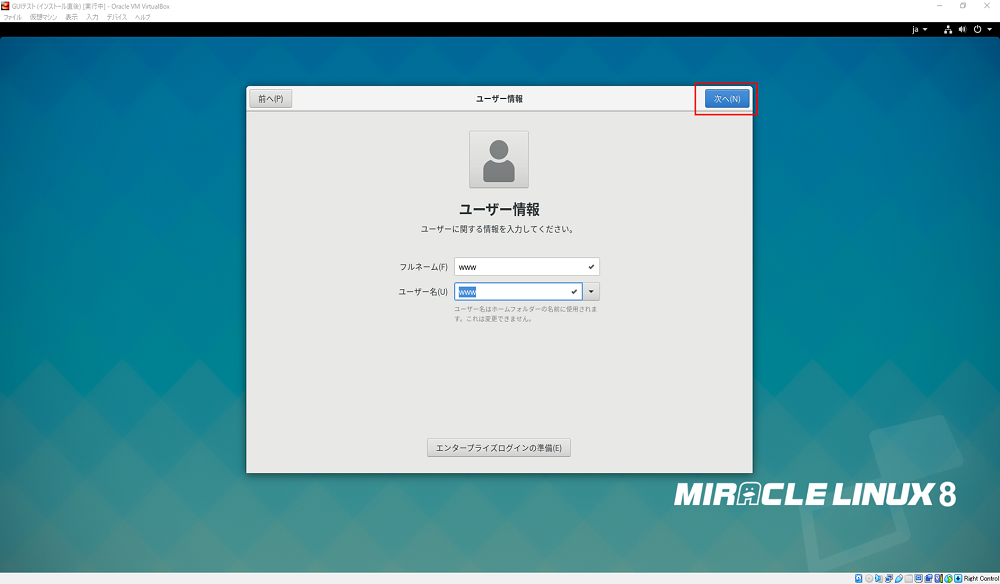
ユーザー情報を適当に登録します。
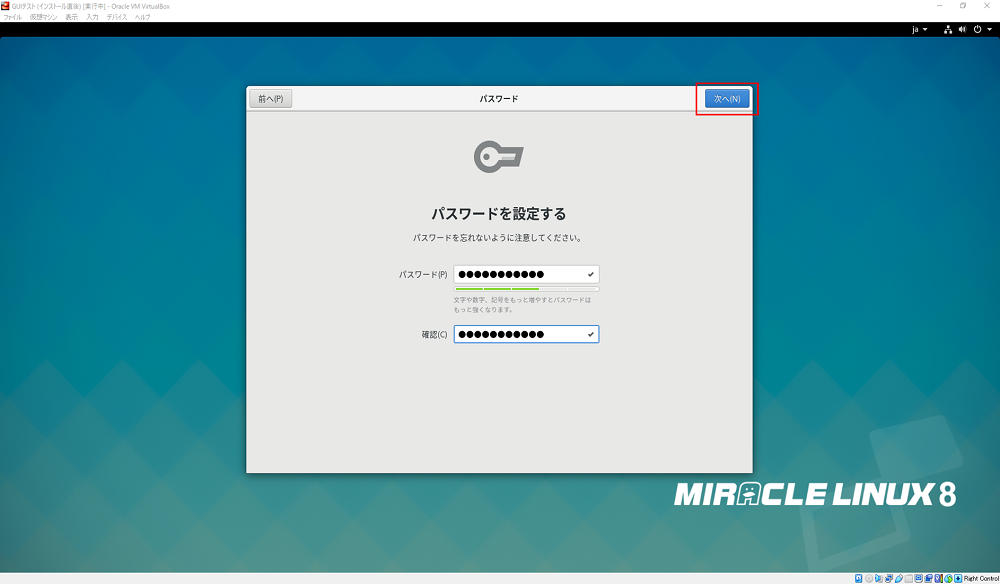
次の画面でパスワードを設定します。
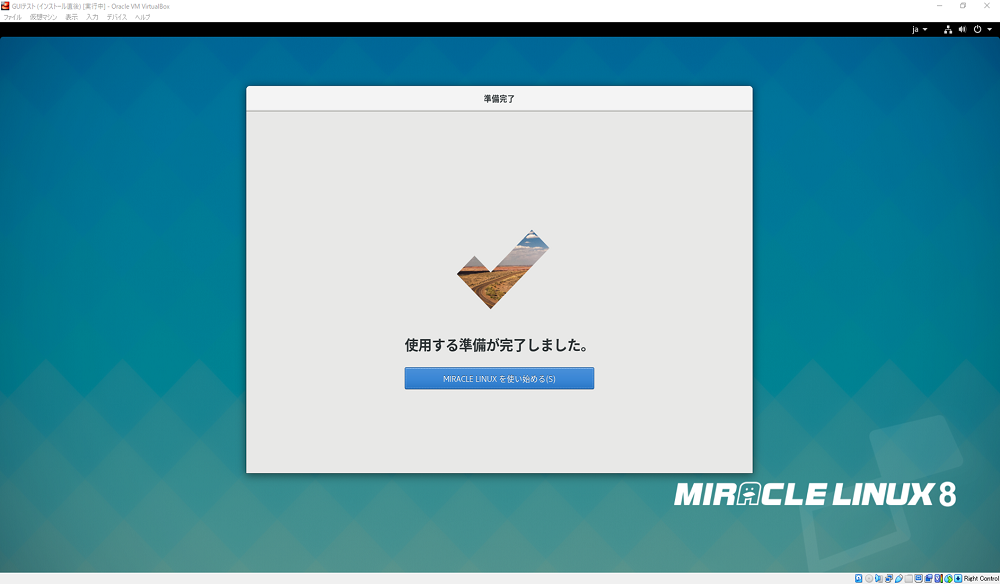
完了!
Seleniumのインストールと実行
最後にSeleniumを使ってブラウザを簡単に操作します。
Chromeのインストール
#yumの取得先ファイルを下記の内容で追加
vi /etc/yum.repos.d/google-chrome.repo
▼ここから-------------------------------------
[google-chrome]
name=google-chrome
baseurl=http://dl.google.com/linux/chrome/rpm/stable/x86_64
enabled=1
gpgcheck=1
gpgkey=https://dl.google.com/linux/linux_signing_key.pub
▲ここまで-------------------------------------

#Chromeインストール
yum install google-chrome-stable
Seleniumのインストール+Chromeドライバー取得
pip3 install selenium

wget https://edgedl.me.gvt1.com/edgedl/chrome/chrome-for-testing/117.0.5938.88/linux64/chromedriver-linux64.zip
unzip chromedriver-linux64.zip
mv chromedriver-linux64/chromedriver /usr/local/bin/

chmod 755 /usr/local/bin/chromedriver
※ちなみにPythonはミラクルリナックスの最小限のインストールでもデフォで入ってました。
テストPython+Seleniumプログラムの実行
Python+Seleniumが正常に動作するか、下記の簡単なプログラムでテストします。
※Seleniumのバージョンが3だったのでfind_element~とちょっと古い
vi test.py

from selenium import webdriver
from selenium.webdriver.chrome.options import Options
from time import sleep

options = Options();
options.add_argument('--no-sandbox')

driver = webdriver.Chrome(options=options)

driver.get("https://google.com")
driver.find_element_by_name("q").send_keys("テスト")
driver.find_element_by_name("q").submit()
sleep(5)

driver.quit()↓↓↓ここからGUI画面で操作します
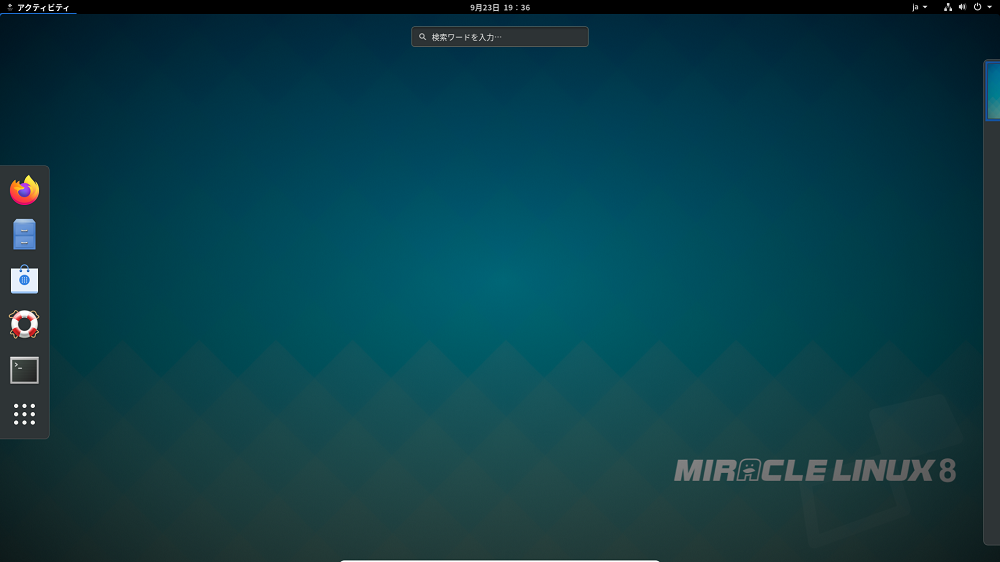
GUIの方でWindowsキーを押します。
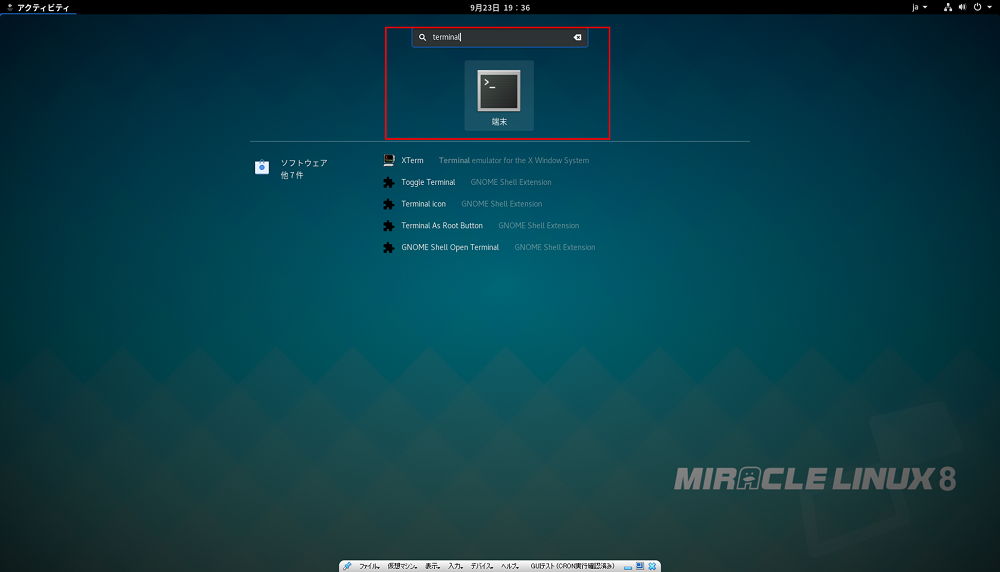
”terminal"で検索し、コンソール画面を表示させます。
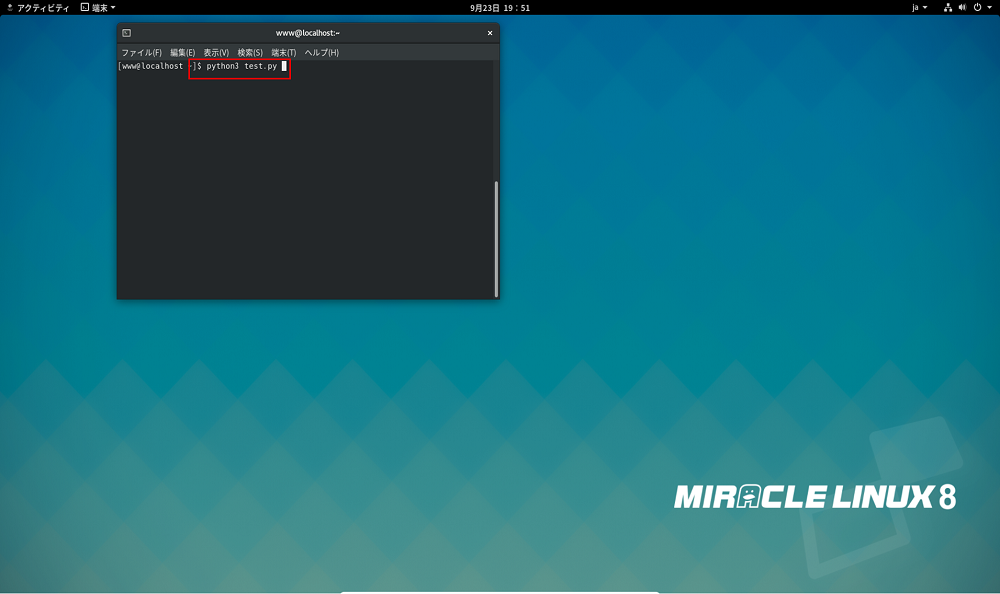
"python3 test.py"で、先ほどのプログラムを実行します。
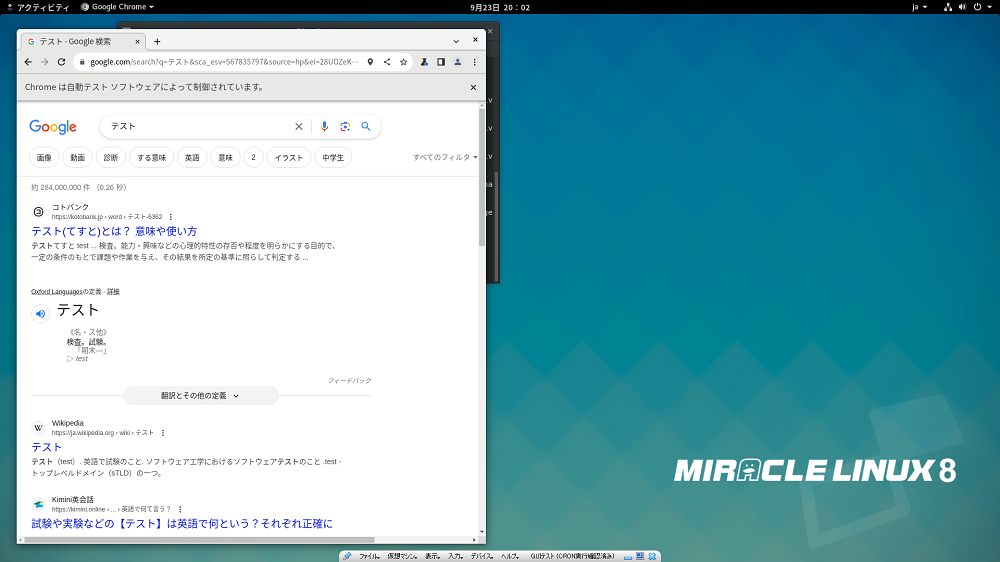
Googleで”テスト”が検索出来れば成功!
トラブルシューティングなど
test.pyを実行したときにうまくChromeが起動しない
⇒環境変数がリセットされてるかもしれません。terminalを開きなおしたら改善するかも。
⇒環境変数DISPLAYが必要な関係上、puttyなどのリモート経由で直接実行することはできません。
まとめ
LinuxサーバでSelenium実行環境が遂に完成!
Pycharmの時と違い、外部システムからヘッドレス実行ができる未来も近いかもしれないと思うと夢が広がります・・・!


![【フィギュアレビュー】A-Z:[B]-full dress- シンプルに、、カッコ良く!](http://holiday-programmer.net/wordpress/wp-content/uploads/2025/11/title-1-150x150.png)